DOC PN: 701-00078 A02
PORTAL DOC PN: 760-00725
Support Models: 500-00021; 500-00022; 500-00023; 500-00024; 500-00025
Last updated: January 2026
Welcome to TytoCare
This guide will walk you through:
- What's in the box
- Setting up the TytoClinic station
- Configuring the iPad
- Connecting the TytoPro kit to your TytoClinic
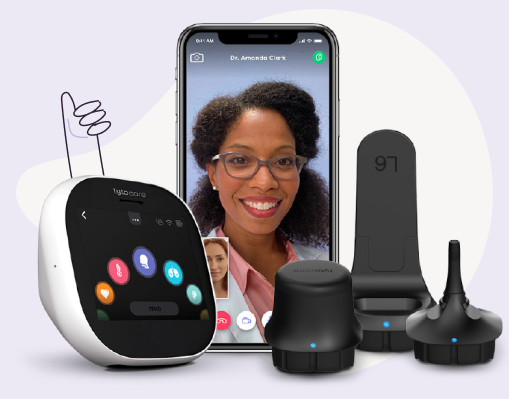
1. What's in the box?
- TytoPro Kit
- iPad (Optional)
- Pulse Oximeter
- Four (4) batteries for the pulse oximeter
- Blood Pressure
- Omron Small D-Ring Cuff
- Headphones
- TytoClinic Station
TytoClinic Station

2. Setting up your TytoClinic station
Step 1: Position TytoClinic stand

Place the TytoClinic on a stable platform ensuring it has access to an electrical outlet. Gently plug the power cord into the outlet.
Step 2: Open iPad frame
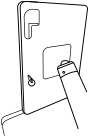
Open the drawer located within the TytoClinic unit. Retrieve the key provided for the iPad frame and use it to unlock the frame.
Step 3: Connect iPad to charger
Insert the charging cable into the designated port on the iPad.
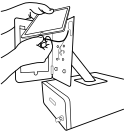
Step 4: Secure iPad within frame
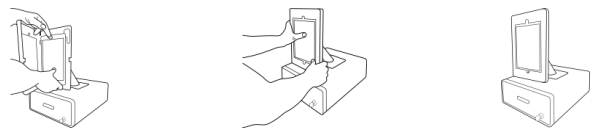
Carefully place the iPad into the frame ensuring the charging port is facing downwards. Once positioned correctly, close the frame's door securely and use the provided key to lock it.
3. Configure the iPad
The first time you turn on the iPad, you will be prompted to configure it. Ensure you use the settings provided below.
- Initial Setup: Tap "Next" and select "English" and "United States".
- Wi-Fi Connection: Connect to the newly created Wi-Fi network on the iPad.
- Touch ID & Passcode: Select "Set Up touch ID later" and "Don't Use Passcode".
- Apps & Data: Select "Set Up as New iPad".
- Apple ID: Choose "Set Up Later in Settings" and then "Don't Use".
Additional information
TytoClinic station power inlet/outlets:
- Outlet of frame: USB Type C for charging the iPad
- Outlet inside drawer: USB type C for charging the TytoPro device
TytoClinic station weight:
26 pounds
TytoClinic station measurements
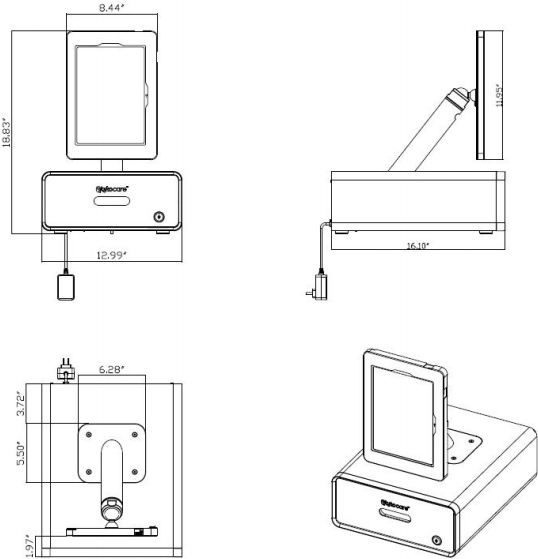
- Height (Total): 18.83"
- Base Width: 12.99"
- Base Depth: 16.10"
- iPad Frame Height: 11.95"